In today’s world, where we are faced with numerous environmental challenges, the importance of reducing waste for sustainability and self-sufficiency cannot be overstated. Living a more sustainable life and reducing our carbon footprint is an essential step towards protecting our planet for future generations. One effective way to do this is by embracing a waste-free lifestyle on your homestead, and there are several methods to help you achieve this goal.
Composting, rainwater harvesting, and upcycling are three key practices that can significantly minimize waste on your homestead. By incorporating these methods into your daily routine, not only will you be reducing your environmental impact, but you’ll also be promoting self-sufficiency and making the most of the resources you have available. In the following sections, we will delve deeper into each of these practices, providing you with practical advice and DIY project ideas to help you create a waste-free homestead.
DIY Composting Projects
Making compost from kitchen scraps and yard waste
Benefits of composting
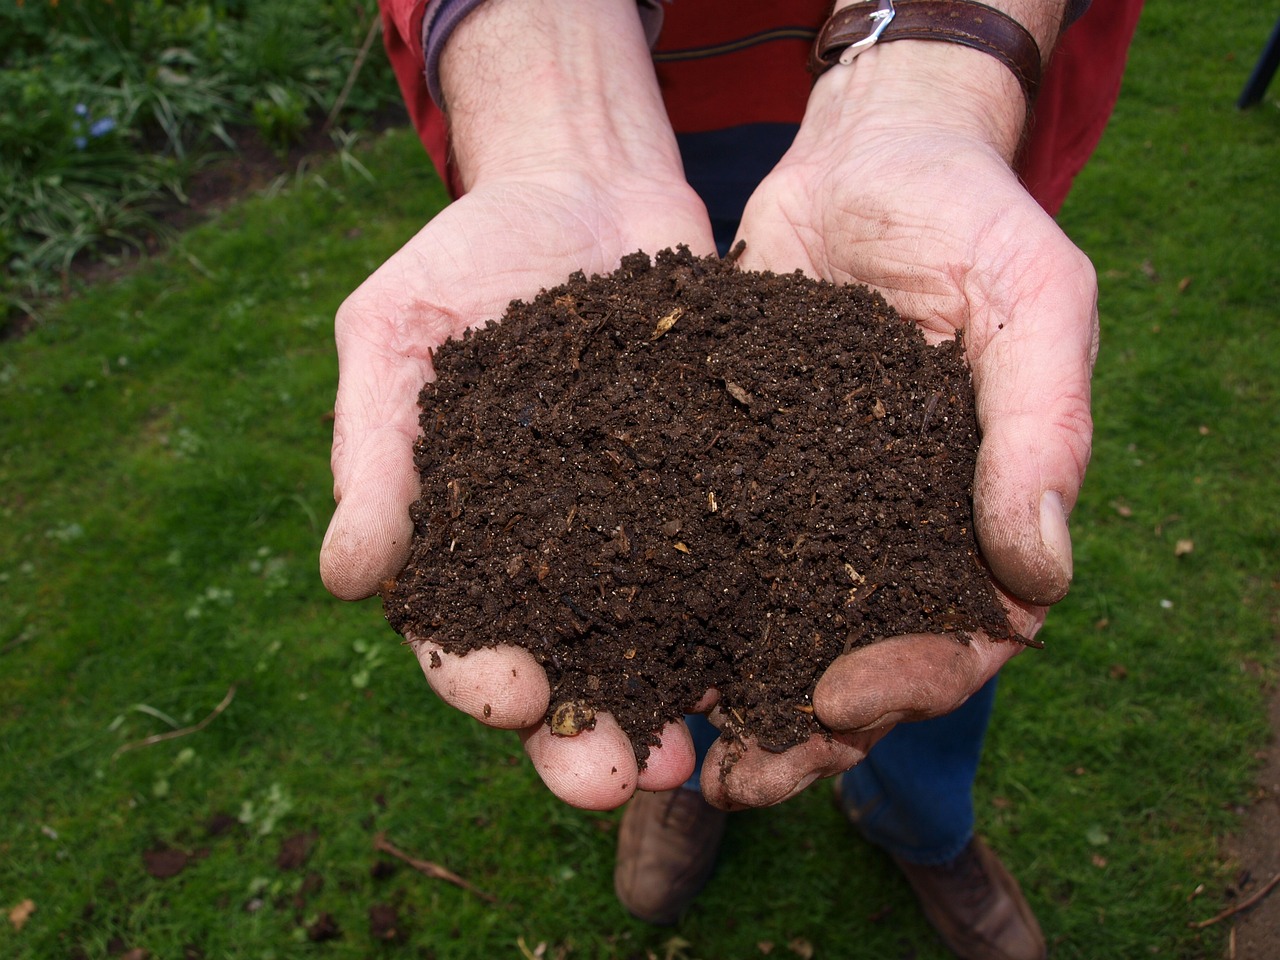
Composting is a natural process that converts organic waste materials, such as kitchen scraps and yard waste, into nutrient-rich compost, which can be used to improve the quality of your garden soil. There are several benefits of composting:
- Reduces waste: Composting helps you minimize the amount of waste that ends up in landfills by turning organic waste into a valuable resource for your garden.
- Improves soil quality: Compost is a natural fertilizer that enriches your garden soil with essential nutrients, improving its structure, water retention, and overall health.
- Supports plant growth: Adding compost to your garden helps plants grow stronger and healthier by providing them with the nutrients they need to thrive.
- Environmentally friendly: Composting is an eco-friendly practice that reduces greenhouse gas emissions associated with landfill waste decomposition.
Setting up a compost system
To set up a compost system at home, follow these steps:
- Choose a location: Find a convenient spot in your yard for your compost pile or bin. It should be easily accessible, have good drainage, and receive partial sunlight.
- Select a composting method: There are several methods for composting, such as creating a simple compost heap, using a compost bin, or employing a tumbling composter. Research the pros and cons of each method to find the one that works best for your needs and space.
- Prepare your materials: Gather a mix of green (nitrogen-rich) and brown (carbon-rich) materials for your compost pile. Green materials include kitchen scraps like fruit and vegetable peels, coffee grounds, and eggshells, while brown materials consist of yard waste like leaves, grass clippings, and small branches.
- Layer the materials: Start with a layer of brown materials, followed by a layer of green materials, and continue alternating layers until your pile or bin is full. Be sure to maintain a balance between the green and brown materials to ensure efficient decomposition.
- Turn and water your compost: Regularly turn your compost pile or rotate your tumbling composter to aerate the materials and speed up the decomposition process. Keep the compost moist by occasionally watering it, but avoid making it too wet.
- Harvest your compost: After a few months, the compost will be ready to use. You’ll know it’s done when it has a dark, crumbly texture and an earthy smell. Use your finished compost to fertilize your garden and enjoy the benefits of your waste-free homesteading efforts.
DIY Rainwater Harvesting Projects
Creating a rainwater catchment system
Benefits of rainwater harvesting
Rainwater harvesting is the practice of collecting and storing rainwater for later use, which can provide numerous benefits for both your homestead and the environment:
- Conserves water: By collecting and using rainwater, you can reduce your reliance on municipal water supplies and conserve this precious resource.
- Lowers water bills: Utilizing rainwater for irrigation and other non-potable uses can help decrease your monthly water bills.
- Reduces runoff and erosion: Capturing rainwater helps reduce the amount of runoff that can cause soil erosion and contribute to flooding.
- Better for plants: Rainwater is free of chemicals, such as chlorine and fluoride, which are often found in tap water. This makes it a healthier option for watering your plants.
Steps to build a rainwater collection system
Building a rainwater collection system on your homestead is a simple and cost-effective way to minimize water waste. Follow these steps to create your own:
- Assess your roof: First, determine the size and type of your roof, as this will influence the amount of rainwater you can collect. Metal and tiled roofs are generally better for rainwater collection as they tend to have fewer contaminants than asphalt shingles.
- Choose a storage tank: Select a storage tank, such as a rain barrel or cistern, to hold the collected rainwater. Consider factors like capacity, materials, and aesthetics when making your choice.
- Install gutters and downspouts: If you don’t already have them, install gutters and downspouts on your roof to direct rainwater toward your storage tank. Ensure that your gutters are free of debris to prevent clogs and maintain water flow.
- Attach a leaf screen or gutter guard: To keep leaves and other debris out of your rainwater collection system, install a leaf screen or gutter guard on your gutters or at the entrance of the downspout.
- Set up a first flush diverter: A first flush diverter is a device that diverts the initial flow of rainwater, which may contain contaminants from your roof, away from your storage tank. This helps improve the quality of the collected rainwater.
- Connect the downspout to the storage tank: Using a flexible pipe or hose, connect the downspout to your storage tank. Make sure the connection is secure to prevent leaks.
- Add an overflow outlet: Install an overflow outlet near the top of your storage tank to redirect excess water when the tank is full. This can help prevent flooding and maintain proper water flow in your system.
- Treat and use the collected rainwater: Depending on your intended use, you may need to treat the collected rainwater before using it. For non-potable uses like irrigation, minimal treatment is usually required. However, if you plan to use the water for drinking or cooking, you’ll need a more advanced treatment system.
By implementing these steps, you can create an efficient rainwater catchment system that will help reduce water waste and contribute to a more sustainable homestead.
DIY Upcycling Projects
Transforming pallets into furniture and garden structures
Ideas for pallet furniture Pallets are versatile and readily available, making them an excellent material for creating unique and eco-friendly furniture pieces. Here are a few ideas for transforming pallets into furniture:
- Tables: Create a coffee table, side table, or even a dining table by stacking and securing pallets together. Add a glass top or wooden slats for a smooth surface.
- Chairs: Use pallets to build outdoor lounge chairs or Adirondack-style seating. Add cushions for comfort and style.
- Benches: Combine several pallets to create a rustic bench for your garden or patio. Enhance its appearance by painting it with weather-resistant paint or adding cushions.
Ideas for garden structures Pallets can also be used to create functional and attractive garden structures, such as:
- Raised beds: Stack and secure pallets together to create raised beds for your garden. This not only adds visual interest but also makes it easier to tend to your plants.
- Trellises: Use pallets to build vertical trellises for climbing plants like peas, beans, and cucumbers. This can save space and add an interesting visual element to your garden.
Repurposing glass jars for storage and organization
Ideas for using glass jars in the kitchen and pantry Glass jars can be repurposed for various storage and organization purposes in your kitchen and pantry:
- Dry goods storage: Use glass jars to store dry goods like pasta, rice, and beans. This not only looks attractive but also helps to keep your pantry organized.
- Spice storage: Transfer spices from plastic containers into glass jars for a more sustainable and visually appealing storage solution.
- Preserving and pickling: Glass jars are perfect for preserving and pickling fruits and vegetables from your garden.
Creative ways to use glass jars for home organization Glass jars can also be used for organizing other areas of your home:
- Bathroom storage: Store items like cotton balls, Q-tips, and bath salts in glass jars for a stylish and functional storage solution.
- Craft supplies: Keep small craft supplies like buttons, beads, and ribbons organized in glass jars.
Turning old clothes and textiles into useful household items
Ideas for repurposing old clothes Give new life to old clothes and textiles by turning them into useful household items:
- Rugs: Create braided or woven rugs using strips of old fabric or clothes. This is a great way to add color and texture to your floors while recycling unwanted textiles.
- Quilts: Use old clothes or fabric scraps to create a unique and cozy quilt. This can be an excellent keepsake or gift idea.
- Reusable bags: Turn old t-shirts or fabric remnants into reusable grocery bags or produce bags.
Ways to use textiles for home decor Upcycle textiles to create one-of-a-kind home decor items:
- Pillow covers: Transform old clothes or fabric scraps into colorful and unique pillow covers. Mix and match patterns and textures for a fun and eclectic look.
- Curtains: Use vintage sheets or repurposed fabric to create custom curtains for your home. This is an affordable and sustainable way to update your window treatments.
Tips for Finding Upcycling Materials
Finding materials for your upcycling and recycling projects doesn’t have to be expensive or challenging. Here are some tips for sourcing materials from local businesses and community members:
- Network with local businesses: Reach out to local businesses to inquire about any unwanted materials they may be willing to give away or sell at a low cost. For example, you might find pallets at warehouses, grocery stores, or construction sites. Just be sure to ask for permission before taking any materials.
- Visit thrift stores and yard sales: Thrift stores and yard sales can be treasure troves for upcycling and recycling materials. Look for items like old clothing, textiles, glass jars, and other household items that can be repurposed for your projects.
- Connect with your community: Let your friends, family, and neighbors know about your upcycling and recycling projects. They may have materials they’re willing to donate or trade. You can also join local online groups or community bulletin boards to share resources and find materials.
The internet can be a valuable resource for finding free or low-cost materials for your upcycling and recycling projects. Here are some online resources to help you locate materials:
- Freecycle: Freecycle is an online network where people can give away or request free items in their local community. This is an excellent resource for finding materials for your upcycling projects, as well as a great way to keep items out of landfills.
- Craigslist: Craigslist’s “free” section is another resource for finding free or low-cost materials. Be sure to check it regularly, as new items are posted daily.
- Facebook Marketplace and Buy Nothing groups: Facebook Marketplace and local Buy Nothing groups are great places to find free or low-cost materials. These platforms allow users to buy, sell, and trade items within their local community, making it easy to find materials for your projects.
- Online forums and message boards: Join online forums or message boards related to upcycling, recycling, or homesteading. These communities often have sections for members to share resources, trade materials, and discuss project ideas.
By utilizing these tips and resources, you can find a wealth of materials for your upcycling and recycling projects without breaking the bank. Remember, one person’s trash can be another person’s treasure, and with a little creativity, you can turn unwanted materials into beautiful and functional items for your homestead.
Conclusion
In conclusion, recycling and upcycling projects are essential components of a waste-free homestead. By embracing these practices, you not only contribute to a more sustainable and eco-friendly lifestyle but also save money, reduce waste, and create unique and functional items for your home.
Recycling and upcycling projects help:
- Conserve natural resources by repurposing existing materials instead of using new ones.
- Reduce landfill waste and pollution by giving new life to items that would have otherwise been discarded.
- Promote creativity and resourcefulness, as you develop skills and knowledge in repurposing materials and crafting functional items.
As you continue on your journey toward a waste-free homestead, we encourage you to explore even more DIY projects that promote sustainable living. There are countless ways to create a more eco-friendly home and lifestyle, from growing your food and using natural cleaning products to installing energy-efficient appliances and practicing water conservation.
Remember, every small change and effort you make contributes to a healthier environment and a more sustainable future. Share your successes and challenges with friends, family, and your community to inspire others to adopt more sustainable practices. By working together, we can create a greener, cleaner world for generations to come.
Comments are closed